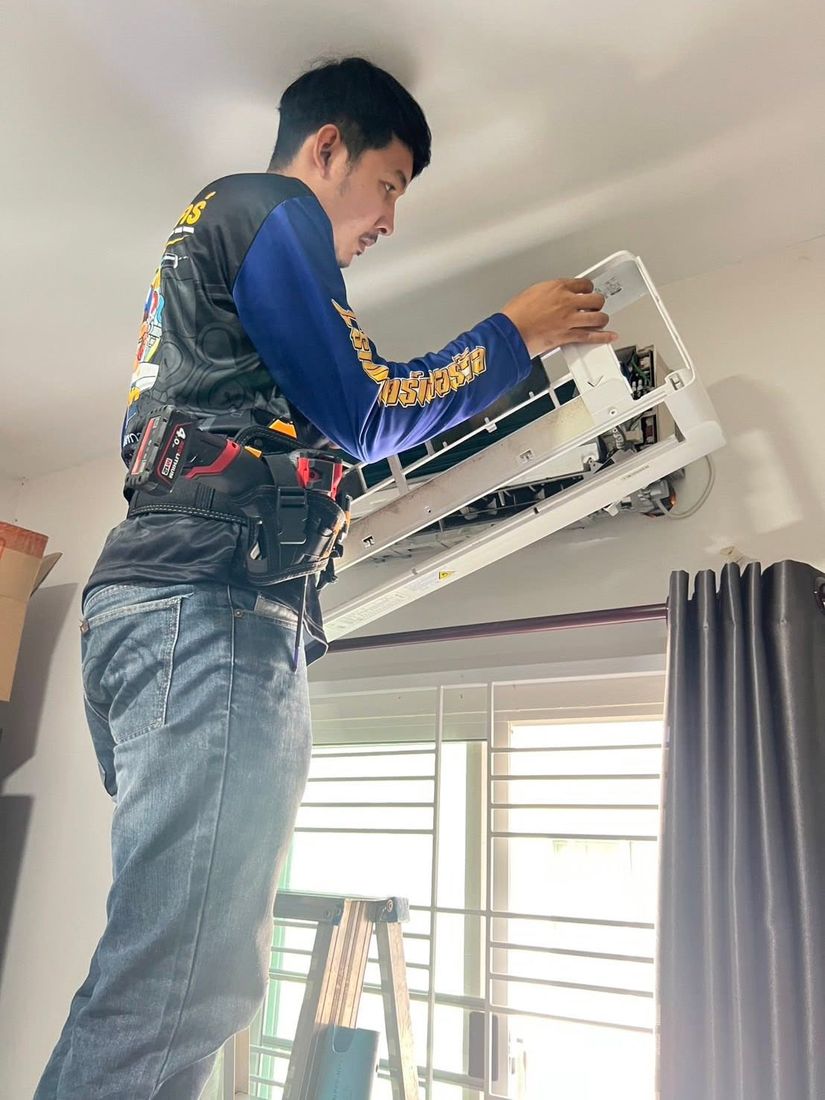
Aircon cleaning is one of the hardest services for a customer to judge, because the real dirt sits deep inside the unit where you cannot see it from outside. When the job is done, what you see is a white plastic cover and air that blows as cold as before, and neither tells you whether the indoor coil, the drain tray and the blower wheel were actually cleaned. The difference between a clean that follows every step and a quick spray through the cover lies in places you cannot check just by looking at the outside.
The seven points below are neutral criteria you can use to assess any provider's work, mine included. You can check every one of them by eye, with no technical knowledge needed.
Point 1: Were drop sheets and a water cover put up before starting?
Before the first drop of water leaves the spray nozzle, the job should always start with preparing the area. That means laying drop sheets on the floor under the work area, covering any furniture or bed nearby and, most importantly, fitting a catch bag or waterproof cover around the unit so all the dirty water is collected into a bucket.
If the job starts with climbing the ladder and spraying straight away with nothing to catch the water, it shows that the amount of water planned is less than a full clean needs. Spraying until the coil is genuinely clean produces enough dirty water that a catch bag and bucket have to be in place first. I lay two layers of drop sheets on every job, whether it is a standard clean or a strip-down clean, and tidy the area before I finish.
- There are drop sheets or floor protection under the work area, not just newspaper.
- A catch bag or waterproof cover is strapped around the unit, and you can clearly see the water's path into the bucket.
- Furniture and the bed under the aircon are covered or moved before work begins.
- There is a real bucket to catch the water, rather than letting it run onto the floor and wiping it up later.
Point 2: Was the front cover actually taken off?
This is the clearest line between a full clean and a quick spray. A proper clean means removing the front panel and the cover until you can see the indoor coil as a bank of metal fins, with the circuit board covered against water first. If the front panel is just lifted up and the nozzle poked in through the narrow gaps, the water only reaches the surface of the coil, and the dirt deep between the fins and on the blower wheel stays exactly where it was.
The easiest way to check is to look while the spraying is going on: can you see the coil as bare metal fins, or is there still a white plastic part in the way? If you can still see plastic in front of it, the cover has not been taken off. Taking out just the filters does not count as taking the cover off.
Point 3: What colour is the water coming out?
The water in the bucket is the most direct thing you can check, because it is the dirt that came out of your own unit. While the technician is working, I suggest going to look at the bucket once and comparing the colour of the water with this guide.
- What you see in the bucketBlack or dark brown water with sediment
- What it means
- Completely normal for a unit that has not been cleaned for 6 months or more
- What to do next
- Take a photo to compare next time; the clean has done its job
- What you see in the bucketCloudy grey water with flaky bits
- What it means
- Built-up soot and dust, very common after Chiang Mai's burning season (smoke haze, Feb–Apr)
- What to do next
- This is normal. Ask the technician how clogged the coil was; you may need to clean more often
- What you see in the bucketSlippery slime or floating green-black scum
- What it means
- Mould and biofilm have reached the blower wheel
- What to do next
- Next time, choose a strip-down clean rather than a standard clean
- What you see in the bucketWater almost as clear as tap water
- What it means
- It may really be clean if the unit was cleaned recently, or the spray may not have reached the coil
- What to do next
- Ask clearly whether the cover has been taken off, and ask to see the coil
- What you see in the bucketNo water in the bucket at all
- What it means
- It was not washed with water, only wiped with a cloth or sprayed with an aerosol
- What to do next
- This does not count as an aircon clean; ask before you pay
| What you see in the bucket | What it means | What to do next |
|---|---|---|
| Black or dark brown water with sediment | Completely normal for a unit that has not been cleaned for 6 months or more | Take a photo to compare next time; the clean has done its job |
| Cloudy grey water with flaky bits | Built-up soot and dust, very common after Chiang Mai's burning season (smoke haze, Feb–Apr) | This is normal. Ask the technician how clogged the coil was; you may need to clean more often |
| Slippery slime or floating green-black scum | Mould and biofilm have reached the blower wheel | Next time, choose a strip-down clean rather than a standard clean |
| Water almost as clear as tap water | It may really be clean if the unit was cleaned recently, or the spray may not have reached the coil | Ask clearly whether the cover has been taken off, and ask to see the coil |
| No water in the bucket at all | It was not washed with water, only wiped with a cloth or sprayed with an aerosol | This does not count as an aircon clean; ask before you pay |
One word of caution: if the unit was cleaned only 3–4 months ago, water that is not very dark is normal. So I do not recommend using the colour of the water as your only measure. Weigh it together with the other checkpoints.
Point 4: Was the outdoor coil cleaned too?
An aircon has two parts: the indoor coil inside the room, and the outdoor coil outside the building. The outdoor coil's job is to release heat into the outside air. If its fins are clogged with dust, leaves or pet hair, it releases heat less efficiently, pressure in the system rises, the compressor has to work harder, and the end result is weaker cooling and a higher electricity bill.
A complete clean has to cover both parts. Cleaning the outdoor coil is already included in my price. The easiest way to check is to follow along and see that work is actually done on the outdoor unit, and when the job is finished, check that the outer fins look cleaner and no leaves are left stuck in them.
Point 5: Does the time spent per unit show every step was done?
Time is not a direct measure of quality, because a skilled technician can work faster without the quality dropping. But time does show whether every step was done, because some steps cannot be rushed, such as taking parts off and putting them back, and waiting for parts to drain before refitting them.
- Type of jobStandard clean, 1 wall-mounted unit
- A reasonable time
- About 45–60 minutes
- If it is much faster, it may mean
- The cover may not have been taken off, or the outdoor coil was skipped
- Type of jobStandard clean, the 2nd unit onwards in the same home
- A reasonable time
- Can be quicker, because the equipment is set up only once
- If it is much faster, it may mean
- If it is done within 15 minutes, ask which steps were carried out
- Type of jobPremium Full Wash, 100% strip-down
- A reasonable time
- About 1.5–2 hours
- If it is much faster, it may mean
- Taking the blower wheel and drain tray out to wash separately always takes longer than this
- Type of jobClean finished within 15–20 minutes
- A reasonable time
- Not realistic for a full clean
- If it is much faster, it may mean
- Mostly a spray through the cover and a wipe of the outside
| Type of job | A reasonable time | If it is much faster, it may mean |
|---|---|---|
| Standard clean, 1 wall-mounted unit | About 45–60 minutes | The cover may not have been taken off, or the outdoor coil was skipped |
| Standard clean, the 2nd unit onwards in the same home | Can be quicker, because the equipment is set up only once | If it is done within 15 minutes, ask which steps were carried out |
| Premium Full Wash, 100% strip-down | About 1.5–2 hours | Taking the blower wheel and drain tray out to wash separately always takes longer than this |
| Clean finished within 15–20 minutes | Not realistic for a full clean | Mostly a spray through the cover and a wipe of the outside |
Point 6: Refrigerant must be measured in front of you before a top-up is offered
This is the point customers find hardest to check for themselves in any aircon service. The technical fact is that refrigerant sits in a sealed, pressurised system, so it does not run down with age the way engine oil does. If the refrigerant is found to be low, the system has a leak, and topping it up without finding the leak first means paying for refrigerant that will simply leak out again.
The standard you should expect is for a pressure gauge to be connected in front of you, with the reading on the dial pointed out and an explanation of whether it is within range or below it. If it really is low, you should also be told where the leak is likely to be and that it should be found before a top-up. I measure in front of the customer every time, and I will not suggest a top-up if the reading is still within range.
- You can ask to see the gauge while it is being measured, and ask what the numbers on the dial mean.
- If you are advised to top up without a measured reading to back it up, ask for the gauge to be connected first.
- If a top-up is offered, ask where the leak is thought to be, and take time to think it over before deciding.
- For R32 and R410A refrigerant I charge 25 THB per pound, and I tell you how many pounds are needed before I top up.
- If the aircon is cooling normally, there is in principle no technical reason to add refrigerant.
If an aircon is cooling normally, I have no technical reason to add refrigerant. If I measure it and find it genuinely low, my job is to find the leak and fix the cause.
Point 7: Was everything left neat and tidy?
The last stage shows working standards more clearly than any other, because it comes when the main work is done and the next job is waiting. Tidying up is part of the work being handed over, and the difference between a job finished properly and one wrapped up in a hurry is obvious once you know what to look for.
- 1Every part has been put back and clicked into place, with no cover left loose or not fully closed.
- 2The unit is test-run in front of you, listening to how it sounds and checking that the air coming out is cold as normal.
- 3Check that the condensate drains out through the pipe as normal, with no water dripping from the unit.
- 4The floor and walls are dry and clean, and the drop sheets and bucket have all been cleared away.
- 5The technician explains what they found inside the unit, how clogged the coil was, anything to keep an eye on, and when the next clean is due.
- 6The warranty terms are made clear. Mine are a 30-day drip warranty for a standard clean and 60 days for a strip-down clean.
Item five carries more weight than many people expect. A good job summary should describe the inside in concrete terms, such as how much dirt was on the coil, the state of the drain tray and what to watch before the next clean. A summary that can give you that detail is one of the measures you can use.
What to ask before agreeing on a price
Aircon cleaning prices in Chiang Mai come at several levels. Whether the price you are quoted is high or low, what helps you compare like with like is asking clearly, before you agree, which steps that price covers. A clean that follows every step takes around an hour per unit and has real costs: travel, cleaning solution, drop sheets, catch bags and labour. You can ask any provider the questions below, me included.
- Does the quoted price include taking the cover off and cleaning the outdoor coil?
- Will drop sheets and a water cover be put up before work starts?
- Is there anything that might be charged extra on the day, such as a refrigerant top-up or replacement parts?
- Is there a warranty on the work, and how many days does it cover?
I always give my full price before booking. A standard clean for a 9,000–18,000 BTU unit is 500 THB, or 450 THB each for three or more units. A 18,001–36,000 BTU unit is 650 THB, or 600 THB each for two or more. The Premium Full Wash, a 100% strip-down, is 2,300–2,500 THB. If anything would change the price, I tell you before I start, and I can issue a full tax invoice made out to your company.
In short: a checklist you can print and keep
- Before starting: were drop sheets laid and a water cover fitted around the unit?
- During the clean: could you see the coil as bare metal fins, or was plastic still in the way?
- In the bucket: did dirty water actually come out, and what did it look like?
- Was the outdoor coil outside the building cleaned as well?
- Did the time spent per unit match the scope of work you agreed?
- If a refrigerant top-up was offered, was a gauge connected in front of you and the cause explained?
- Was everything left tidy, the unit test-run in front of you, and the warranty terms explained?
When I come to work in your home, you are welcome to watch every step and ask about anything. If the refrigerant is checked, I show you the readings before we consider whether a top-up is needed at all.